
Appearance
Application Guide
Click an application tile on the dashboard and the map opens. This is where the work happens: looking at layers, finding records, editing them, measuring, printing and exporting.
This page is the lay of the land. Everything on it is covered properly somewhere else, and the links say where.
Four panels round a map
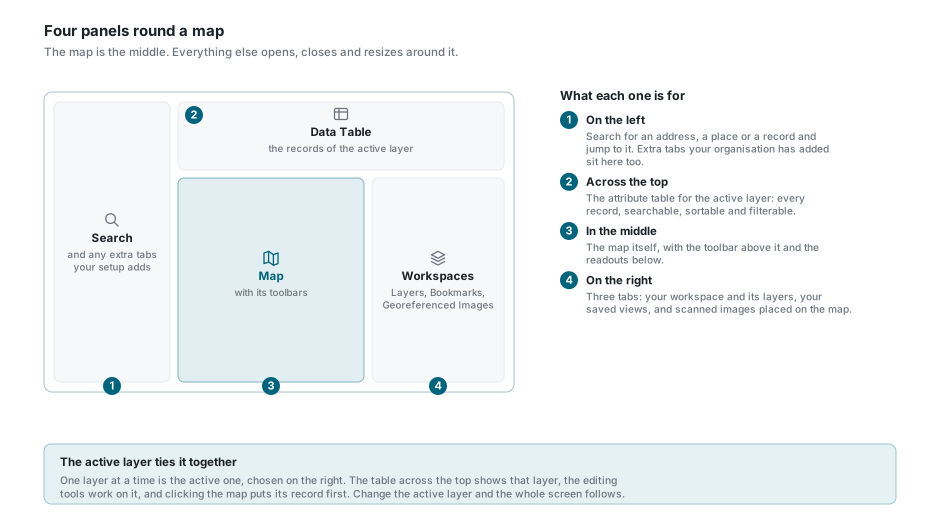
| Where | What it is | Read about it |
|---|---|---|
| Left | Search for an address, a place or a record, and jump to it. | Search |
| Top | The attribute table for the active layer. | Data Table |
| Middle | The map, its toolbar and its readouts. | Map Navigation, Map Tools |
| Right | Your workspace, its layers, your bookmarks and your georeferenced images. | Workspaces, Layer Control |
The active layer ties it together
One layer at a time is the active layer, chosen on the right. The table across the top shows that layer's records, the editing tools work on it, and clicking the map puts its record first. Change the active layer and the whole screen follows. See Layer Control.
The tabs on either side
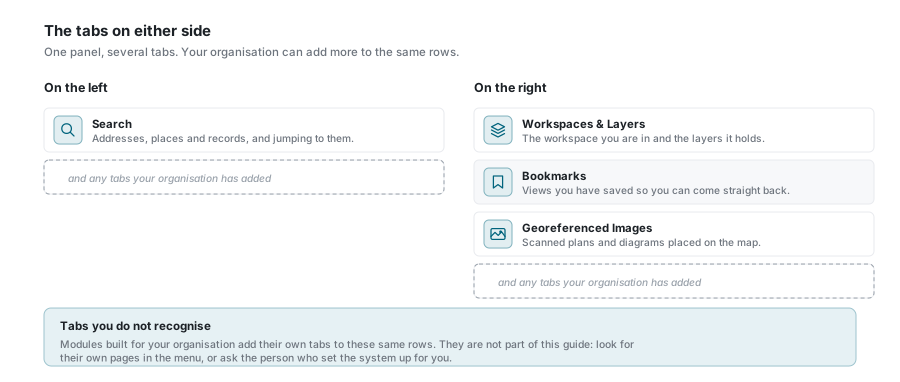
The panel on the right has three tabs:
| Tab | What it holds |
|---|---|
| Workspaces & Layers | The workspace you are in and the layers it holds. |
| Bookmarks | Views you have saved so you can come straight back. See Bookmarks. |
| Georeferenced Images | Scanned plans and diagrams placed on the map. See Georeferenced Images. |
Tabs you do not recognise
Modules built for your organisation add their own tabs to these same rows, and their own buttons to the map toolbar. They are not part of this guide: look for their own pages in the menu, or ask whoever set the system up for you.
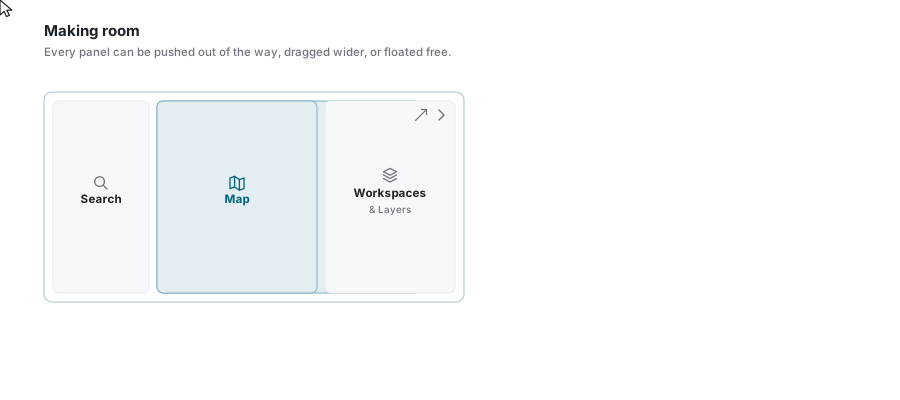
Making room
| To do this | Use this |
|---|---|
| Get a panel out of the way | The caret in its header. It folds down to a narrow strip that still shows its name; click the strip to bring it back. |
| Give a panel more room | Drag the bar between two panels. |
| Float a panel | The diagonal arrow in its header lifts it out into a window you can move and resize. Available on the Data Table and on each of the right-hand tabs, on a wide screen. |
On a phone
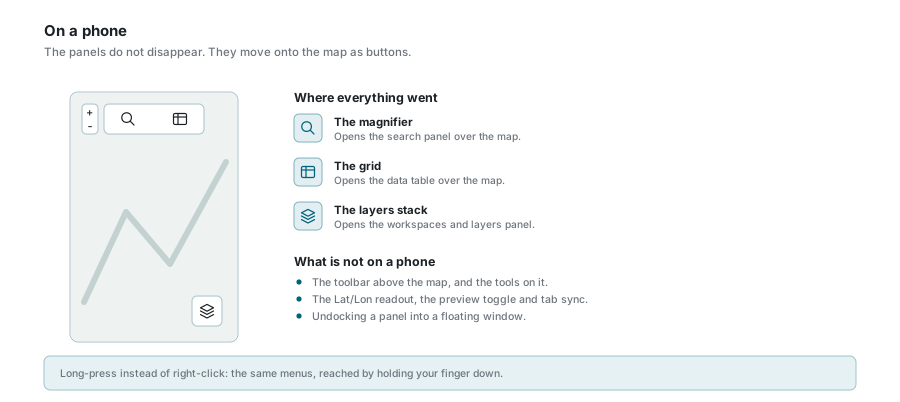
The panels do not disappear on a small screen, they move onto the map:
- the magnifier opens the search panel;
- the grid opens the data table;
- the layers stack, bottom right, opens the workspaces and layers panel.
What you do not get on a phone is the toolbar above the map, the Lat/Lon readout, and undocking. Long-press takes the place of right-click, and gives you the same menus.
A first session
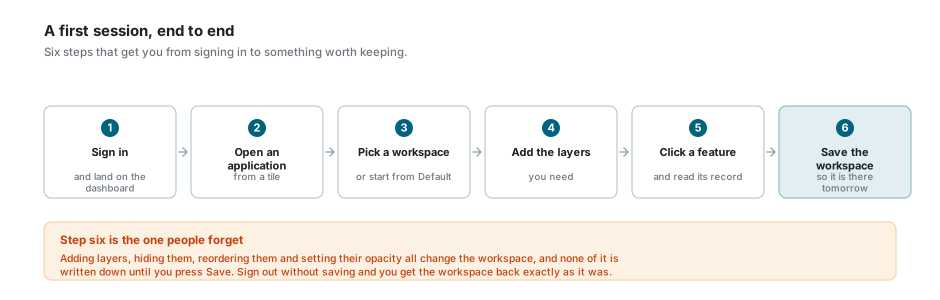
- Sign in and land on the dashboard.
- Open an application from a tile.
- Pick a workspace, or start from Default. See Workspaces.
- Add the layers you need from the Layer Repository.
- Click a feature on the map and read its record. See Feature Selection.
- Save the workspace so it is there tomorrow.
Step six is the one people forget
Adding layers, hiding them, reordering them and setting their opacity all change the workspace, and none of it is written down until you press Save. Sign out without saving and you get the workspace back exactly as it was. See Saving changes.
Stuck?
Every panel has a ? button in its header. It starts an interactive tour that walks you round that panel, one control at a time. There is one for the map panel too, at the end of the toolbar. See Support.
Everything in this guide
| Page | What you'll learn |
|---|---|
| Workspaces | Creating, switching, saving and managing workspaces |
| Layer Repository | Adding and removing layers, and connecting to external services |
| Layer Control | Visibility, labels, opacity, the active layer and drawing order |
| Map Navigation | Panning, zooming, rotating, and the readouts under the map |
| Map Tools | Measuring, the magnifier, elevation, recording, street view |
| Searching | Finding addresses, places and records |
| Feature Selection | Clicking the map, and the popup that comes back |
| Printing Maps | Composing and printing or saving a map page |
| Reports | Running, creating and downloading reports |
| Data Table | Searching, sorting and managing attribute data |
| Column Filters | Narrowing a table down to the records you want |
| Import Layers | Bringing your own data in |
| Export Layers | Downloading layer data in GIS and spreadsheet formats |
| Background Jobs | Watching imports, exports and reports run |
| Editing Records | Inline editing, record dialogs and drawing on the map |
| Attachments | Uploading, viewing and managing files on a record |
| Georeferenced Images | Placing scanned plans and diagrams onto the map |
| Bookmarks | Saving and restoring map views |
| Keyboard Shortcuts | The full list of shortcuts |